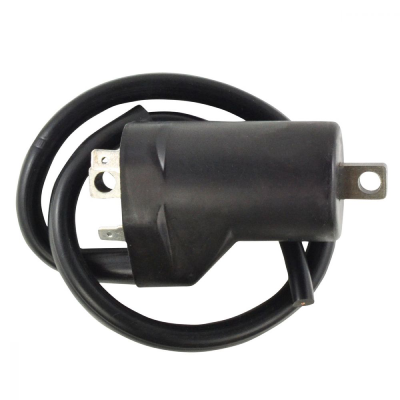
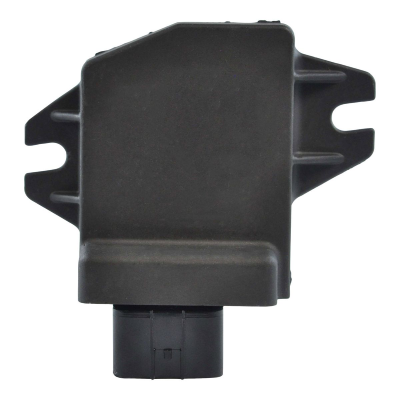
Lisez entièrement ces instructions avant de commencer :
Step 1 : Take the ignition cover off. Are the replacement parts similar? Compare the replacement part to the original. The replacement part should match, including the mounting hole locations, If not: Double check the application listing with your bike.
Step 2 :Take note of the wire colors of the original stator wires and disconnect them from the wiring loom.
Step 3: Remove the flywheel using a proper puller tool.
Step 4: Remove the baseplate with the original coil.
Step 5: Remove the screws that secure the coil and take the coil off.
Step 6: Cut the original wire close to the original coil. Take a good look at how the wire is connected to the coil. Connections: Connect the old wire up to the new coil. Use a soldering iron and resin core solder. (the type used in electrical applications
Step 7: Mount the coil onto the baseplate, fit the screws using locking compound on the threads and TIGHTEN THE SCREWS SECURELY! Step 8: Refit the stator baseplate. Ensure the wires CANNOT TOUCH THE FLYWHEEL! (especially on the inside of the flywheel)
Step 9: Refit the flywheel. Tighten the bolt to specified torque.
Step 10: Fit the ignition cover.
DÉPANNAGE :
Le moteur ne démarre pas : Parfois, les fils de la bobine source sont inversés. Échangez les connexions, ressoudez les fils et le moteur devrait démarrer. Si le moteur ne démarre toujours pas, et avant d'appeler le support technique, effectuez quelques tests de base :
- Revérifiez les connexions. Assurez-vous de souder soigneusement les connexions. Le fait de tordre les fils ensemble ou de les coller avec du ruban adhésif peut entraîner un dysfonctionnement du moteur.
- Vérifiez l'étincelle du moteur.
- Y a-t-il du carburant frais dans le réservoir d'essence ?
Si vous ne parvenez toujours pas à démarrer le moteur, préparez toutes les informations de test pour un technicien avant d'appeler.
Read these instructions completely before beginning: Step 1 : Take the ignition cover off. Are the replacement parts similar? Compare the replacement part to the original. The replacement part should match, including the mounting hole locations, If not: Double check the application listing with your bike. Step 2 :Take note of the wire colors of the original stator wires and disconnect them from the wiring loom. Step 3: Remove the flywheel using a proper puller tool. Step 4: Remove the baseplate with the original coil. Step 5: Remove the screws that secure the coil and take the coil off. Step 6: Cut the original wire close to the original coil. Take a good look at how the wire is connected to the coil. Connections: Connect the old wire up to the new coil. Use a soldering iron and resin core solder. (the type used in electrical applications Step 7: Mount the coil onto the baseplate, fit the screws using locking compound on the threads and TIGHTEN THE SCREWS SECURELY! Step 8: Refit the stator baseplate. Ensure the wires CANNOT TOUCH THE FLYWHEEL! (especially on the inside of the flywheel) Step 9: Refit the flywheel. Tighten the bolt to specified torque. Step 10: Fit the ignition cover.
TROUBLESHOOTING: Engine will not start: Sometimes the source coil wires are reversed. Swap the connections, re-solder the wires and the engine should start. If the engine still does not start, and before calling technical support, performs a few basic tests: 1) Re-check the connections. Make sure you carefully solder the connections. Twisting wires together or taping wires will cause engine inoperability. 2) Check the engine for spark 3) Is fresh fuel in the gas tank?
Si vous ne parvenez toujours pas à démarrer le moteur, préparez toutes les informations de test pour un technicien avant d'appeler.


